Table of Contents
- Why You’ll Love This Quinoa Cake
- Ingredients
- Instructions
- Pro Tips for the Perfect Quinoa Cake
- Easy Ingredient Substitutions
- Storage & Make-Ahead Tips
- Serving Suggestions
- Frequently Asked Questions
If you’re searching for a naturally gluten-free dessert that still tastes like a treat, this quinoa cake is the answer. Packed with protein-rich quinoa, sweet grated apples, and a subtle coconut aroma, this recipe delivers a moist crumb without any flour or refined sugar.
Whether you need a wholesome breakfast slice or an after-dinner bite, this quinoa cake checks every box. It’s simple, wholesome, and ready in just 55 minutes from start to finish.
Let’s dive into why this quinoa cake will become your new go-to bake.
Why You’ll Love This Quinoa Cake
Unlike traditional cakes that rely on refined flour and loads of sugar, this quinoa cake uses cooked quinoa as its base. The tiny grains give a delicate, nutty texture that pairs perfectly with juicy apples and shredded coconut.
Each slice delivers a boost of plant-based protein and fiber, so you can enjoy dessert without the post-sugar crash. The honey or agave adds just enough sweetness while the lemon zest brightens every bite.
Best of all, the recipe is forgiving. Even first-time bakers can whisk everything together in one bowl, pop it in the oven, and walk away for 40 minutes. The result is a golden, fragrant quinoa cake that slices beautifully and keeps well in the fridge.
Ingredients
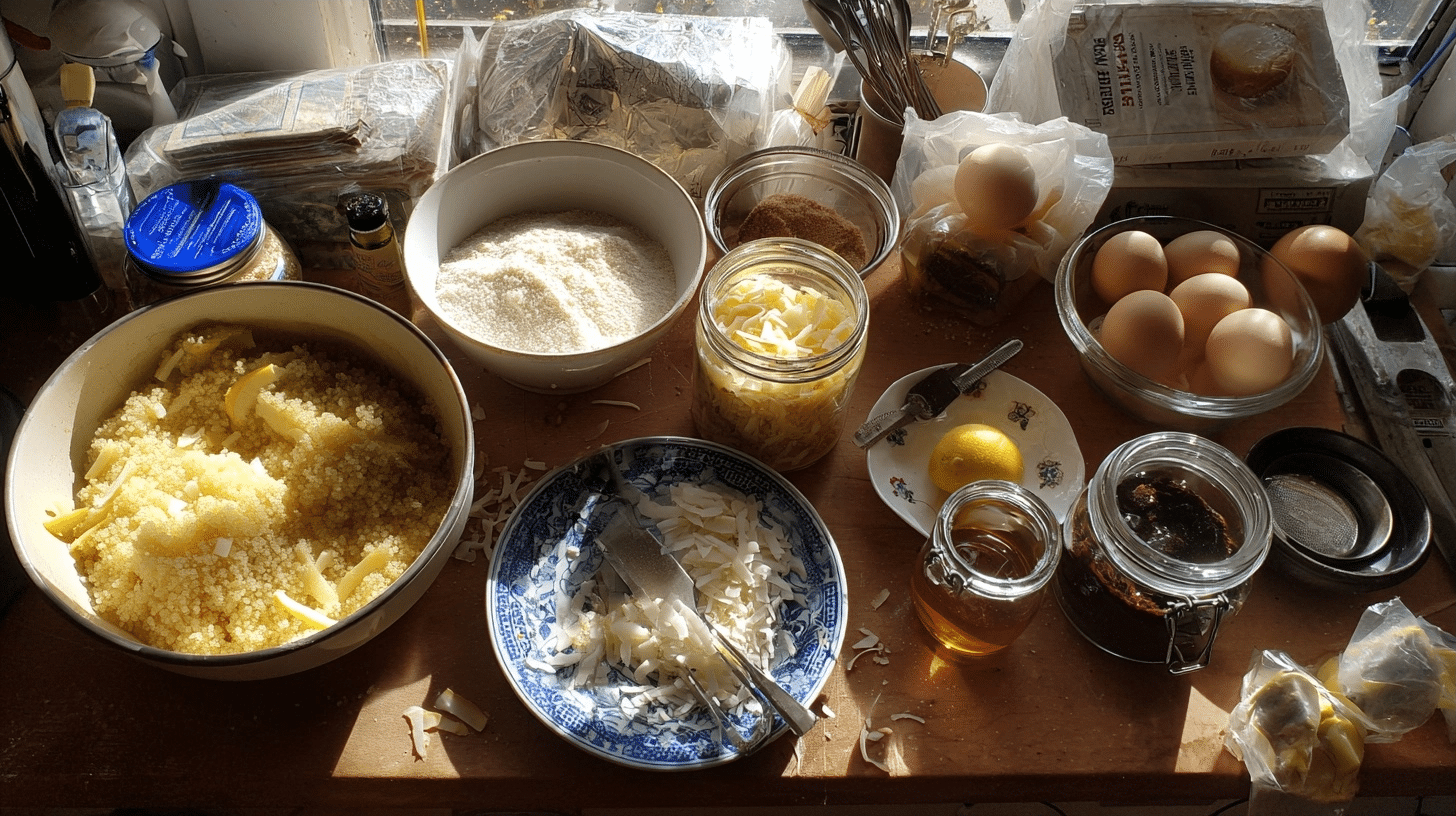
Before you preheat the oven, gather these simple pantry staples. The full list below yields eight generous slices of quinoa cake.
Each ingredient plays a specific role: quinoa for structure, apples for moisture, eggs for lift, and coconut for flavor. Measure everything in grams for the most consistent results.
Quality matters. Choose ripe but firm apples so they grate cleanly and release just the right amount of juice into the batter.
Instructions
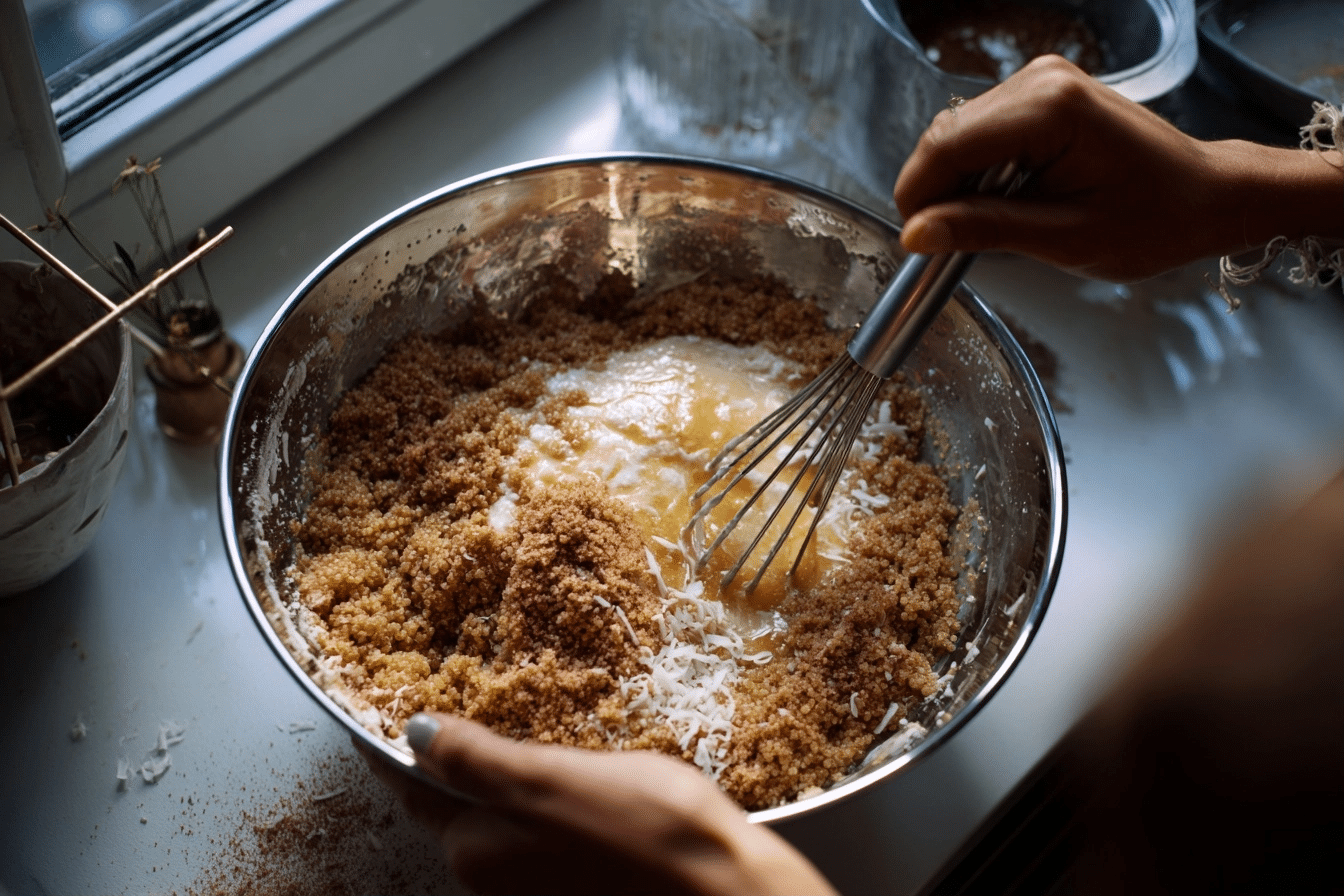
Follow these step-by-step directions for a foolproof quinoa cake every time. The process is straightforward and requires only one mixing bowl.
Start by preheating your oven to 350 °F (180 °C) and preparing your pan. A light coating of oil or a parchment liner prevents sticking and ensures clean slices.
Whisk the wet ingredients first, then fold in the quinoa, apple, and coconut. The batter will look thick—that’s exactly what you want for a dense, moist crumb.
Pro Tips for the Perfect Quinoa Cake
Measure your cooked quinoa after it has cooled completely. Warm quinoa can scramble the eggs and deflate the batter.
Grate the apples on the large holes of a box grater and give them a quick squeeze if they seem very wet. Excess liquid can make the quinoa cake soggy in the center.
Don’t over-mix once the baking powder is added. A few gentle folds are enough to distribute the leavener without deflating the eggs.
For extra coconut flavor, toast the shredded coconut in a dry skillet for two minutes before adding it to the bowl. The nutty aroma elevates this quinoa cake to bakery status.
Easy Ingredient Substitutions
No honey on hand? Maple syrup or date syrup works equally well and keeps the quinoa cake refined-sugar free.
Swap the plain yogurt for Greek yogurt if you prefer a tangier flavor and slightly higher protein content. Both options keep the crumb tender.
Need a nut-free version? Simply omit the sliced almonds on top. The quinoa cake still bakes up beautifully without them.
For a dairy-free quinoa cake, use a plant-based yogurt alternative. Just check that it’s unsweetened so you can control the final sweetness level.
Want a citrus twist? Replace the lemon zest with orange zest and add a pinch of cardamom for a cozy, spiced variation.
Storage & Make-Ahead Tips
Once cooled, wrap leftover quinoa cake tightly in plastic wrap or store slices in an airtight container. It will stay fresh in the refrigerator for up to four days.
To freeze, place individual slices on a parchment-lined tray until solid, then transfer to a freezer bag. Thaw overnight in the fridge or warm gently in the microwave for 20 seconds.
Make the quinoa cake a day ahead for parties. The flavors actually deepen overnight, making each bite even more delicious.
Serving Suggestions
Serve this quinoa cake slightly warm with a dollop of plain yogurt and an extra drizzle of honey for a café-style breakfast.
Pair a chilled slice with afternoon tea or coffee. The subtle coconut and cinnamon notes complement both hot and iced drinks.
For a festive touch, dust the top with a light sprinkle of powdered sugar just before serving. The contrast against the golden crust is stunning.
If you’re entertaining, cut the quinoa cake into bite-size squares and serve on a platter with fresh berries. Guests will love the healthy twist on traditional coffee cake.
Leftovers make an excellent pre-workout snack. The combination of protein, fiber, and natural sugars keeps energy steady without weighing you down.
Learn more about cooking techniques and food nutrition.
Conclusion
This flourless quinoa cake proves that healthy baking doesn’t have to sacrifice flavor or texture. With simple ingredients and one-bowl ease, it’s a recipe you’ll turn to again and again.
Whether you’re meal-prepping breakfasts or looking for a guilt-free dessert, this quinoa cake delivers. Bake a batch today and taste the wholesome difference.
Print
Apple and Quinoa Cake with a Hint of Coconut 🍏🥥 | Flourless, Healthy, and Super Moist
Ingredients
Instructions
Notes
Frequently Asked Questions
Can I use uncooked quinoa in this quinoa cake?
No. The quinoa must be fully cooked and cooled. Raw quinoa won’t soften properly and will taste gritty.
Is this quinoa cake gluten-free?
Yes, as long as your baking powder is certified gluten-free. All other ingredients are naturally gluten-free.
Can I make this quinoa cake vegan?
You can try flax eggs, but the texture will be denser. For best results, stick with the original egg version.
How do I know when the quinoa cake is done?
A toothpick inserted in the center should come out clean or with a few moist crumbs. If it looks wet, bake an extra 5 minutes.
Can I double the recipe?
Absolutely. Use two 8-inch pans or one 9×13-inch pan and adjust the bake time to 45–50 minutes.